Bootstrap Checkbox Button
Introduction
In certain cases the most basic details might probably become really vital-- especially each time you get to need them. As an example just how do your visitors communicate with the web pages you create claiming a basic Boolean act-- simply just yes or no pertaining to a couple of the questions you should ask, precisely how they do consent to the terms or perhaps line up a handful of the practical selections they might possess. We usually surpass this without paying much of an consideration to the element liable for these types of actions however the Bootstrap Checkbox Input is actually a pretty important feature-- one our forms cannot actually complete without.
In the latest fourth edition of the Bootstrap platform we are supplied with the
.form-check.form-check-label<div>.form-check.form-check-label<label><input>.form-check-inputWays to put into action the Bootstrap checkbox:
Bootstrap's
.button<label>data-toggle=" buttons".btn-group
<div class="btn-group" data-toggle="buttons">
  <label class="btn btn-primary active">
    <input type="checkbox" checked autocomplete="off"> Checkbox 1 (pre-checked)
  </label>
  <label class="btn btn-primary">
    <input type="checkbox" autocomplete="off"> Checkbox 2
  </label>
  <label class="btn btn-primary">
    <input type="checkbox" autocomplete="off"> Checkbox 3
  </label>
</div>
From time to time we want to have the checkboxes to arrive inside our forms without the user actually being capable to bring any kind of activity clicking on them-- that is definitely where the disabled option arrives in.
If you want to disable correctly a checkbox in Bootstrap 4 utilizing the basic HTML attribute
disabledIn case that you appreciate the concept and really wish to carry this out you should certainly designate the
.disabled.form-checkOne more good example
Anytime using checkboxes, wrap all of them in a
<label>.custom-control.custom-checkboxOperate
.custom-control-input<input>Additionally work with two
<span>.custom-control-indicator.custom-control-description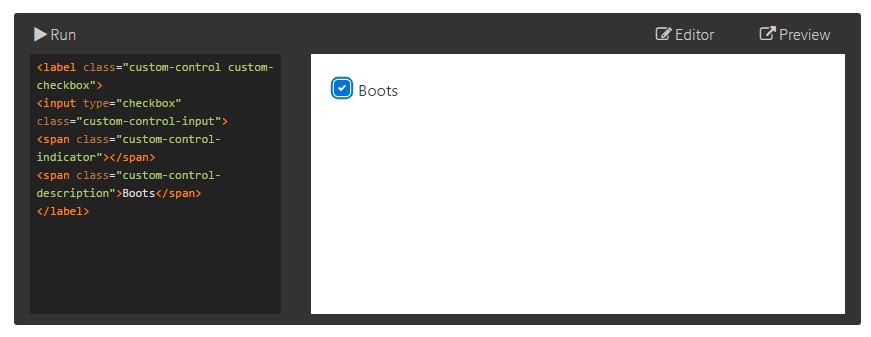
<label class="custom-control custom-checkbox">
<input type="checkbox" class="custom-control-input">
<span class="custom-control-indicator"></span>
<span class="custom-control-description">Boots</span>
</label>
Bootstrap Checkbox Switch forms
Default checkboxes and radios are developed upon with the assistance of
.form-checkDisabled checkboxes and radios are provided, but to deliver a
not-allowed<label>.disabled.form-checkA brand new component for the Bootstrap edition 4 system is the creation of the so called custom made form components. These are actually the very same components we are familiar with within functionality although designated even more interesting and in the Bootstrap approach. By having them you have the ability to incorporate special excitement as well as personality to your web content through simply selecting a number of supplemental classes to the controls you provide in your forms.
In order to employ custom-made checkboxes wrap them in a
<label>.custom-control.custom-checkbox<input>.custom-control-input<span>.custom-control-indicator.custom-control-descriptionConclusions
That's pretty much all you need to handle in order to bring in a checkbox element inside of your Bootstrap 4 powered websites and add in certain custom made flavor to it adding in it a tasteful appeals. And now all you ought to do is repeat the exercise till you have actually examined all the checkboxes needed are currently on the page.
Check out a few video tutorials relating to Bootstrap checkbox
Connected topics:
Bootstrap checkbox official documentation

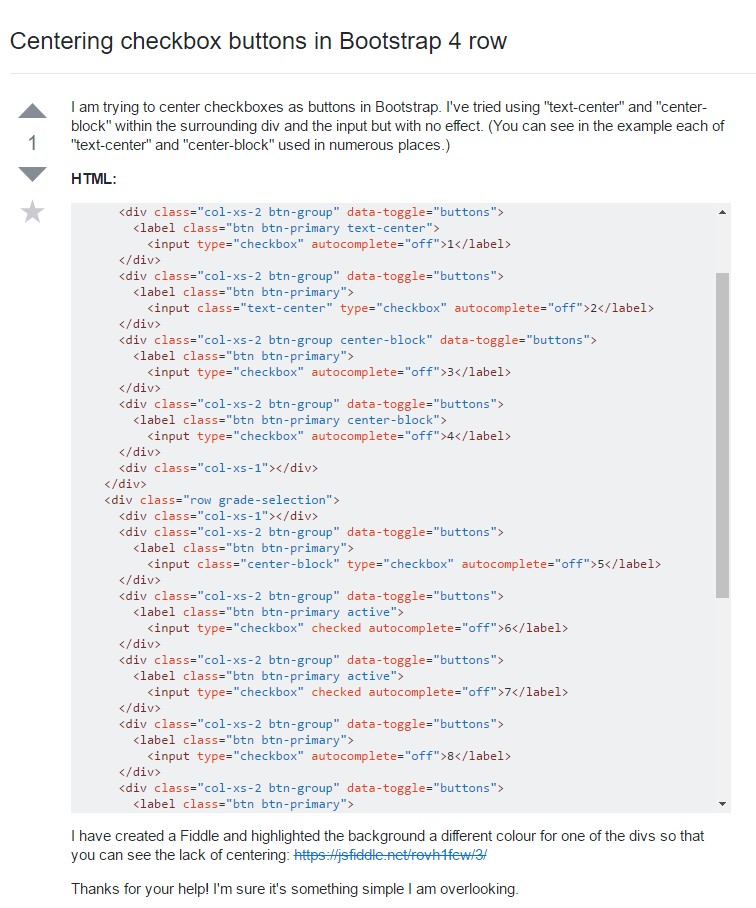
Centering checkbox buttons in Bootstrap 4 row
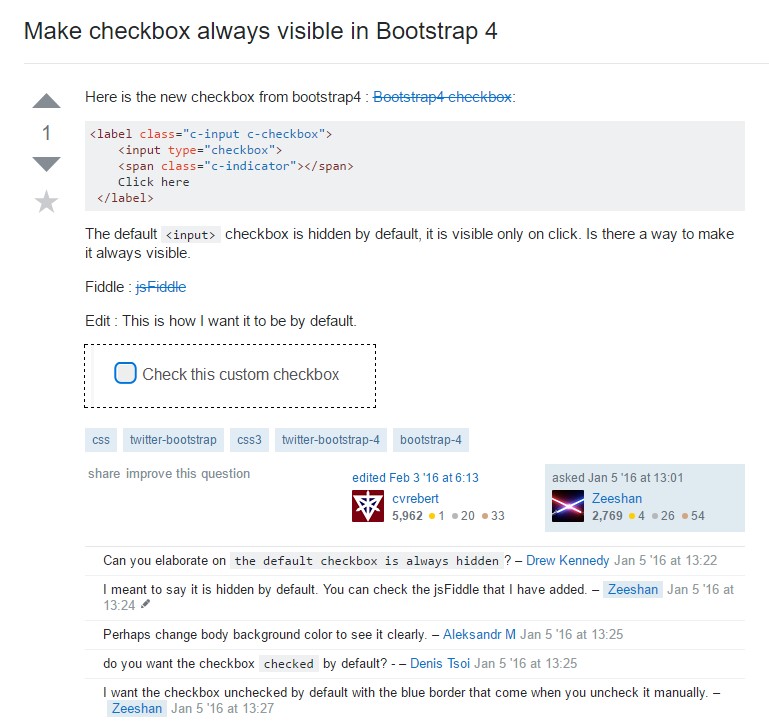
Make checkbox always visible in Bootstrap 4